A smart commercial LED lighting system should reduce energy waste, not create daily uncertainty. Yet faults can appear quietly: one office stays dim, sensors misread occupancy, or zones flicker after closing. This guide explains how to troubleshoot a smart commercial led lighting system through a controlled, evidence-based process. It focuses on practical observations, system architecture, and safe decisions. Before touching wiring, staff should check the control platform, recent schedules, gateway status, and manufacturer guidance. A timestamped photo can reveal patterns that memory misses. Small clues matter.
Experienced facility teams separate power, network, controls, and fixture problems instead of changing everything at once. They confirm whether the fault affects one luminaire, one circuit, or an entire floor. They also test daylight sensors, occupancy settings, wireless connections, and firmware compatibility. Safety comes first. Only qualified personnel should inspect energized equipment or alter electrical connections. Local codes and site procedures must guide every repair. No checklist is perfect. A sensor may appear faulty when a blocked lens causes the problem. A gateway may show online while commands still fail. This outline recommends recording symptoms, isolating variables, and verifying results under normal operating conditions. Reliable troubleshooting ends with proof: stable brightness, correct scheduling, successful manual control, and a clear maintenance record. When uncertainty remains, contacting the manufacturer or a licensed professional is the responsible choice. That step may feel slow, but it prevents repeated failures and protects occupants, equipment, and business operations.
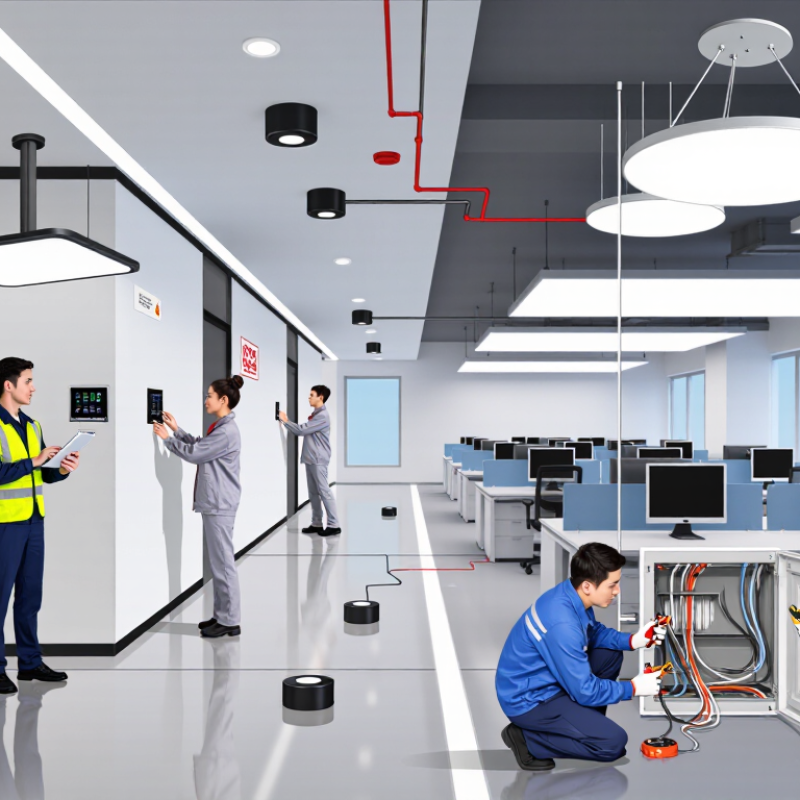
How to Troubleshoot a Smart Commercial LED Lighting System?
Begin at the electrical panel, not the mobile dashboard. Confirm line voltage, circuit loading, grounding, and driver connections with a calibrated meter. A loose neutral can create flicker, false alerts, and unstable dimming. Record real power in watts while the fixtures operate at full output. Then compare delivered lumens with the DOE benchmark of approximately 75–140 lumens per watt. DOE’s Solid-State Lighting research and LED Lighting Facts data show that efficacy varies with product type, optics, color quality, and operating temperature.
Calculate efficacy by dividing measured lumens by measured watts. For example, 48,000 lumens from 600 watts equals 80 lm/W. That result passes the lower reference point, but it may signal losses from controls, heat, or aging components. Check the room temperature near the ceiling. Hot enclosures can reduce light output and shorten driver life. Clean dusty lenses before blaming the electronics.
Do not trust the dashboard alone. Compare sensor readings with a handheld lux meter at several desks, including corners and aisles. The U.S. Department of Energy’s SSL reports emphasize that photometric testing uses controlled conditions, unlike occupied buildings. Dimming can also distort simple calculations. I have seen systems appear efficient because sensors reduced output during testing. That was misleading. Recheck at full power, scheduled levels, and occupied conditions. The DesignLights Consortium’s technical requirements also stress verified performance data, though field results still need human judgment. Some readings will disagree. Investigate before replacing hardware.
Start at the electrical panel, not the mobile dashboard. Check voltage, circuit load, grounding, and driver connections. Use a calibrated meter. A loose neutral can cause flicker and unstable dimming.
Divide measured lumens by measured watts. For example, 48,000 lumens divided by 600 watts equals 80 lm/W. Compare the result with the 75–140 lm/W reference range.
Controls may reduce output during testing. Heat, optics, and aging components can also change performance. Test at full power, scheduled levels, and occupied conditions.
Use a handheld lux meter at desks, corners, and aisles. Compare those readings with dashboard data. Some readings may disagree. Investigate before replacing hardware.
Check the ceiling area for excessive heat. Hot enclosures can shorten driver life and reduce output. Clean dusty lenses first. Dust is easy to overlook.
Isolate the control bus before replacing equipment. Measure bus voltage at the controller and farthest device. Check short circuits, loose terminals, and device loading.
Confirm the gateway address, subnet, VLAN path, and communication settings. Review event logs before changing network equipment. A packet capture can show missing replies or repeated requests.
Record the current configuration and save a rollback copy. Change one setting, then retest. Avoid updates during occupied hours. I once blamed the network; an incomplete device map caused the fault.
This guide explains how to troubleshoot a smart commercial led lighting system through a structured process that begins with basic power and performance checks. Confirm that fixtures receive stable voltage, inspect connections and wiring, and compare measured LED efficacy with the typical 75–140 lumens-per-watt range. Drivers should also be tested for output stability, overheating, flicker, and compatibility with applicable electrical requirements. These steps help distinguish fixture failures from supply, driver, or installation problems.
Next, test occupancy sensors by reviewing detection zones, timeouts, calibration, and control settings, since properly functioning sensors can deliver meaningful energy savings. For networked systems, isolate communication faults among lighting controllers, DALI-2 devices, BACnet/IP networks, gateways, and firmware by checking addresses, logs, cables, and software versions. After repairs, validate results with 15-minute interval meter data, comparing energy use before and after the correction. Applying recognized measurement and verification methods confirms whether the repair restored reliable operation and produced the expected savings.

